Autodesk 3ds Max Tutorials > Materials and Mapping Tutorials > Introduction to Materials and Mapping >
Creating Transparency
The Opacity parameter controls the transparency of a material. The default setting is 100 percent opaque. An Opacity value of 0 creates total transparency.
Set transparency:
Do not save your changes.
 Click
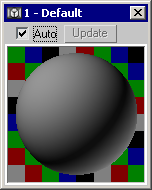
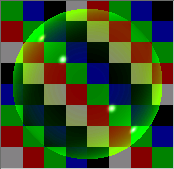
the Background button to the right of the sample spheres. A multicolored
checker pattern appears in the active sample slot behind the sample
sphere.
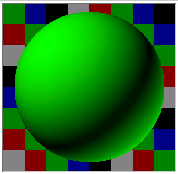
The sample sphere becomes semi-transparent.
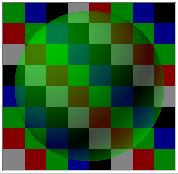
Opacity controls transparency.
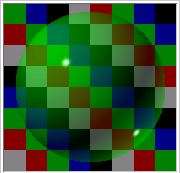
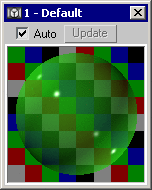
The sphere becomes more transparent towards the edges.
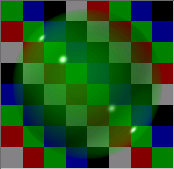
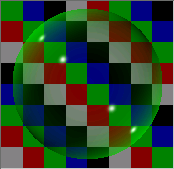
The opacity falls off towards the center of the sphere, revealing a nearly transparent center.
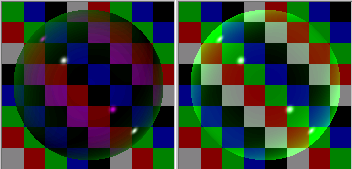
The sample sphere takes on a ghostly look.
The areas of opacity turn dark like smoke, then light like clouds.
