By including multiple bipeds in a shared motion flow, you can animate multiple bipeds using only one motion flow graph. The Create Random Motion command randomly picks clips to create a unique script for each biped. Use this to create a crowd that is loitering or cheering, for example.
Set up the lesson:
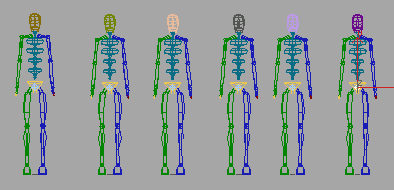
A total of six bipeds standing shoulder to shoulder
Create a shared motion flow:
 Open
the Motion panel.
 If not
already selected, select the biped at the far right of the Front
viewport and turn on Motion Flow Mode.
If not
already selected, select the biped at the far right of the Front
viewport and turn on Motion Flow Mode.Selecting any part of the biped will enable biped controls in the Motion panel.
 On the
Motion Flow rollout, click Shared Motion Flow.
On the
Motion Flow rollout, click Shared Motion Flow.The Shared Motion Flow dialog is displayed.
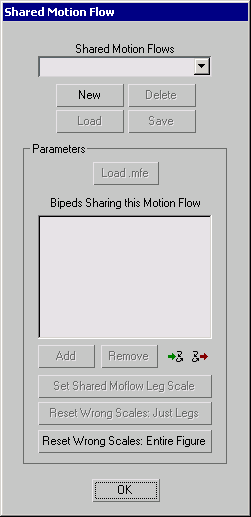
A new shared motion flow is created. A default name appears in the Shared Motion Flows list.
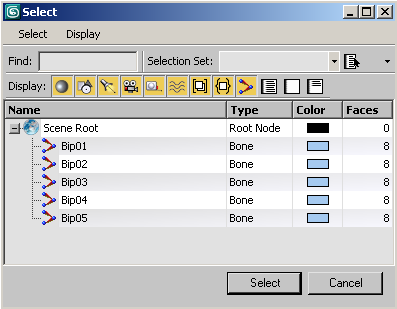
The Select dialog is displayed.
 Click
the Select All icon, then click Select.
Click
the Select All icon, then click Select.The biped names are displayed in the Shared Motion Flow dialog.
The Shared Motion Flow icon on the Motion Flow rollout now has a white circle around it. This means that the selected biped is part of a shared motion flow.
Create a shared motion flow script:
 On the
Motion Flow rollout, click Show Graph.
On the
Motion Flow rollout, click Show Graph.The Motion Flow Graph is displayed. The word *SHARED* appears in the graph name. This Motion Flow Graph will be shared by the six bipeds.
 On the
Motion Flow Graph toolbar, click Create Multiple Clips.
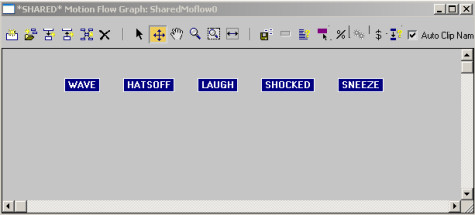
The selected clips are added to the Motion Flow Graph.
 On the
Motion Flow Graph toolbar, click Select Random Start Clips and drag
a selection window around all the clips.
On the
Motion Flow Graph toolbar, click Select Random Start Clips and drag
a selection window around all the clips.The clips all turn purple and show a Random Start Probability of 100, meaning that each clip has an equal chance of being chosen first.
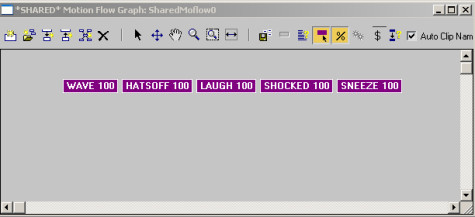

 Click
the Select Clip/Transition button, and turn off the Show Random
Percentages button. Then drag a selection window around all the
clips in the Motion Flow Graph.
 On the
Motion Flow Graph toolbar, click Create All Transitions. You are
asked if you want to create transitions from each selected clip
to itself. Click Yes.
On the
Motion Flow Graph toolbar, click Create All Transitions. You are
asked if you want to create transitions from each selected clip
to itself. Click Yes.Transitions appear between all the clips.
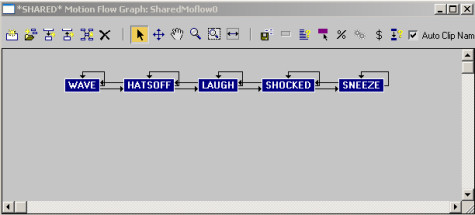
 On the
Motion Flow rollout, in the Scripts group, click Create Random Motion.
On the
Motion Flow rollout, in the Scripts group, click Create Random Motion.The Create Random Motion dialog is displayed.
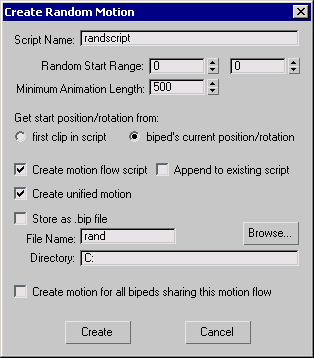
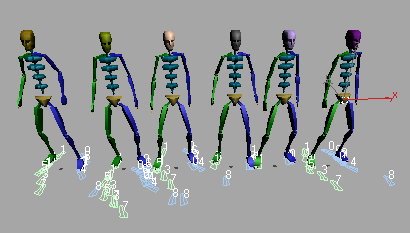
Each biped has a random script based on the clips in the Motion Flow Graph. If two bipeds share a clip, the clip's start frame is picked randomly. This prevents identical motion.
The Unify Options dialog appears. It will appear for each biped you're creating a motion for.
The bipeds appear with footsteps, ready to begin their random motion routine.
Play and save the animation:
 Click
Play Animation.
Click
Play Animation.Each biped moves to its own script that is compiled from the assortment of clips you added to the Motion Flow Graph.