


Autodesk 3ds Max Tutorials > Character Animation Tutorials > Character Animation without Biped > Skinning >
Applying Skin to the Alien
In this lesson, you will apply the Skin modifier to the alien model. You will adjust envelopes and vertex weights for the model's left side, then mirror the settings to the right side. In doing so, you'll learn the following techniques:
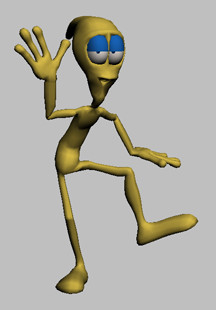
Alien model with skin controlled by bones
Set up the lesson:
The character rig is in the scene, but it is currently hidden because it isn't needed for the skinning process.
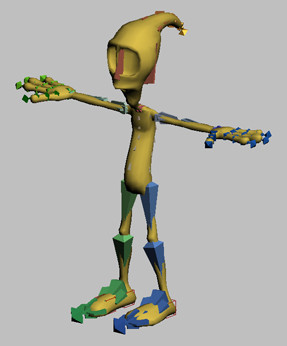
Reference pose in user view, with visible bones
Apply the Skin modifier:
There are other bones in this scene, but the ones not being used for skinning have been hidden.
This selects everything except MeshBody: that is, all the bones in the scene.
Display and adjust the shoulder envelope:
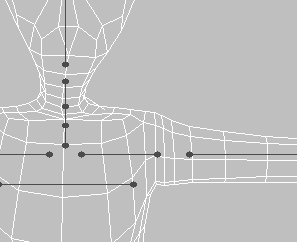
Selectable bones, with handles on each end
Each envelope selector displays over its corresponding bone as a dark gray line with circular handles on each end.
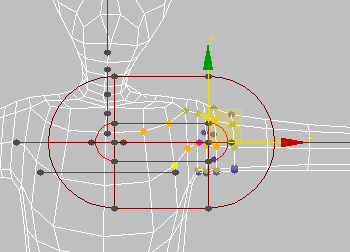
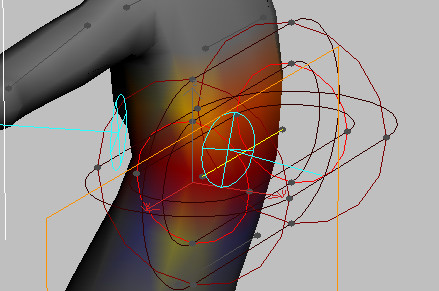
Left shoulder envelope selected
Each envelope consists of an inner envelope (bright red) and an outer envelope (dark red).
The vertices inside the inner envelope receive the most influence from the bone, while vertices between the inner and outer envelopes receive less influence. The farther the vertex is from the inner envelope, the less it is influenced by the bone.
For a smooth skin, outer envelopes for adjacent bones should overlap slightly. This will cause the skin in a joint area (knee, shoulder, elbow, hip) to be influenced partially by each bone, making a smooth skin transition at joints.
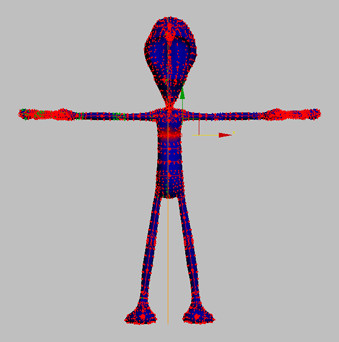
As you adjust an envelope, the vertices inside the envelopes change color to show the degree of influence from the envelope. Red vertices receive the most influence, while blue vertices receive the least.
Adjusting the outer envelope
Change the envelope’s length and direction:
The shoulder envelope sits a little too far into the arm. You can change the length and direction of an envelope by moving one of its end handles.

Shortening the envelope
Size and shape of the shoulder envelope corrected
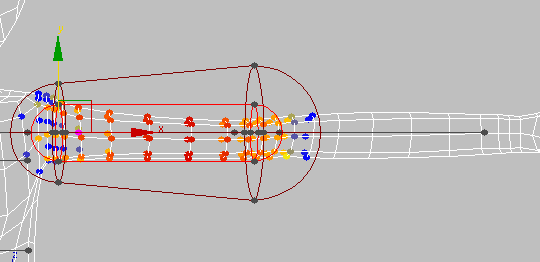
Envelope for the upper arm

Envelope for the lower arm
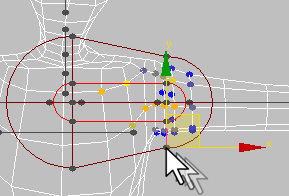
Paste to multiple hand envelopes:
Finger joint envelope adjusted
 In the
Envelope Properties group, click Copy.
In the
Envelope Properties group, click Copy. From
the Paste flyout, choose Paste to multiple bones. This is the last
button on the flyout.
From
the Paste flyout, choose Paste to multiple bones. This is the last
button on the flyout.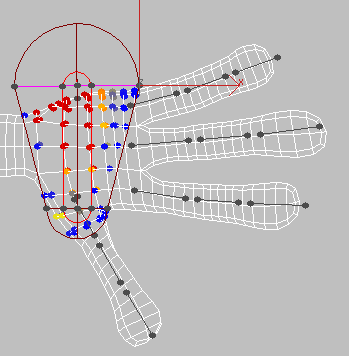
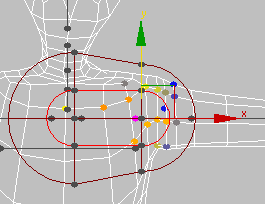
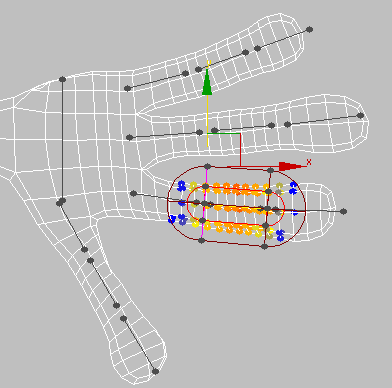
Main hand envelope adjusted
In the
Envelope Properties group, click Copy. Choose
Paste to multiple bones. Paste the selected envelope onto the HandRBONE envelope.Later in this lesson, you will learn how to mirror envelopes and vertex weights from one side of the character to another.
Adjust the body envelopes:
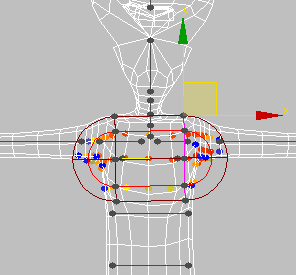
Spine envelope adjusted
Adjust the head envelopes:
Neck envelopes adjusted
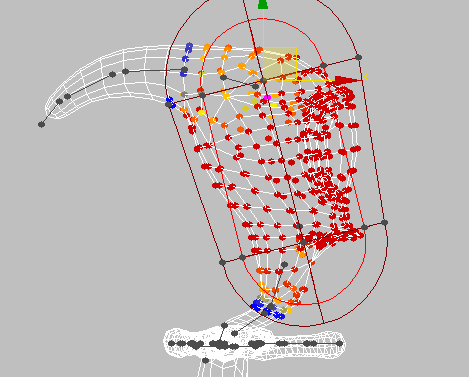
Main head envelope adjusted
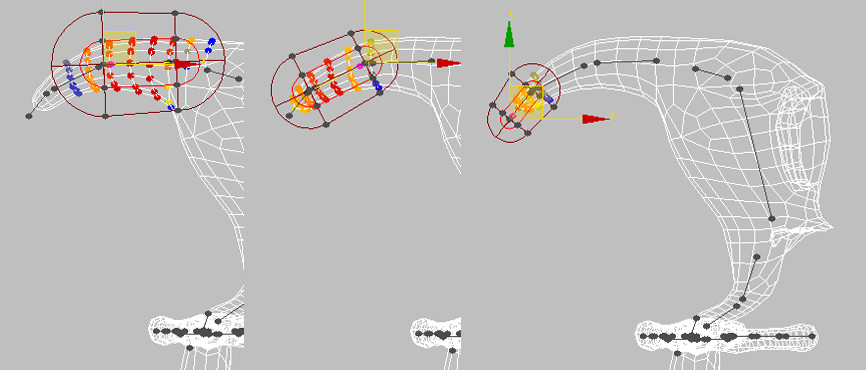
Adjusted topknot envelopes for the alien
Adjust the legs:
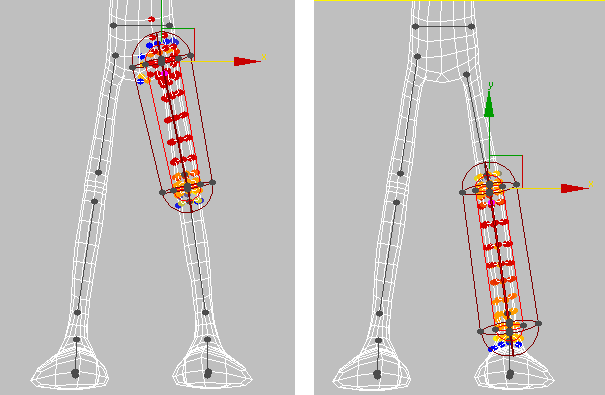
Adjusted leg envelopes
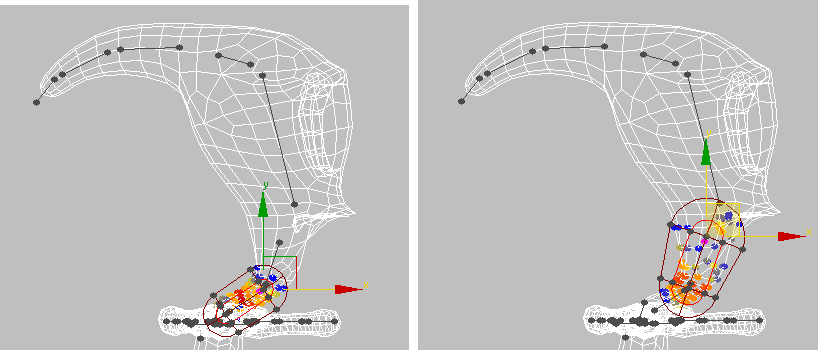
Adjust foot envelopes:
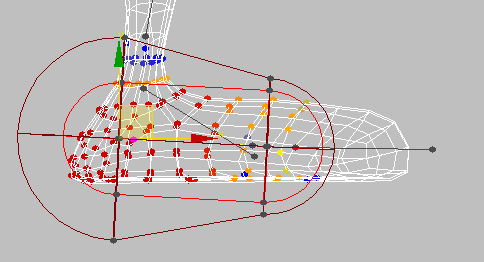
Upper foot envelope aligned and adjusted
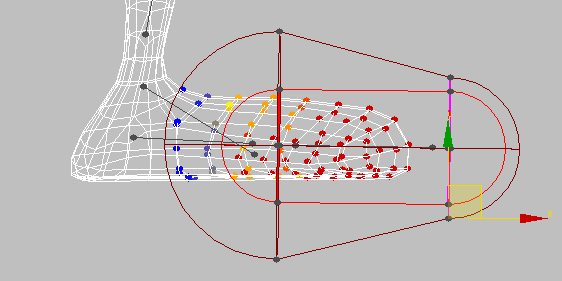
Adjusted toe envelope
You can find a scene with the envelopes adjusted in the file tut_skinalien_envadjust.max.
View envelope influence:
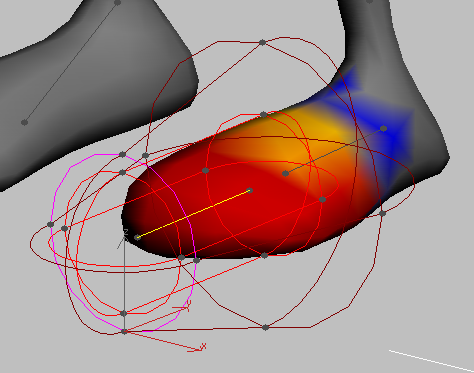
Shaded user view of the toe envelope
In a shaded viewport, the model is shaded in red, yellow and blue to show the influence of inner and outer envelopes, with red indicating the strongest influence and blue a weak influence or no influence at all.
The toe is mostly red, fading to yellow, then blue where the toe meets the foot. This indicates that the toe is influenced strongly by its bone. These envelopes will work well with the bone structure and mesh.
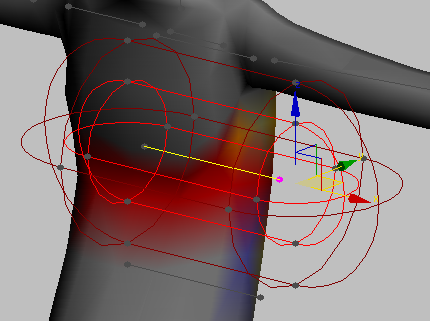
Shaded view of chest envelope
The colors on the chest area indicate that the chest is barely influenced by the bone. This presents a problem. The envelope is too small to include the chest vertices. But if you increase the size of the envelopes, they will encompass the arms and neck.
You can solve this problem by painting weights.
Set painting options:
Envelopes assign weights to each vertex to define how strongly the envelope influences the vertex. A vertex weight can range from 0 to 1. A weight of 0 means the bone doesn’t affect the vertex at all. At 0.5, the vertex is 50% affected by the bone, and 50% affected by one or more other bones. At a weight of 1, the vertex is 100% influenced by that bone alone.
Each vertex can have weights from several different bones, but all the weights must add up to 1.
In an envelope, red vertices have a weight closer to a value of 1, while blue vertices have a weight closer to a value of 0.
The Skin modifier allows you to “paint” weights onto vertices with the cursor, so vertices outside an envelope can still be influenced by the bone.
The default paint gizmo is too large for this model.
A large paint gizmo appears. As you move the gizmo over each polygon, the line pointing out from the gizmo shows the polygon's normal direction.
This gizmo is too big for painting this character.
 Click
the Painter Options button next to Paint Weights.
Click
the Painter Options button next to Paint Weights.Paint vertex weights:
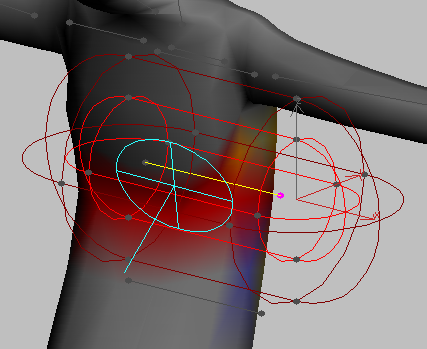
As you drag over areas, the vertices in the area turn red. In the User view, you can see that the mesh in these areas is also red.
Painting chest envelope weights
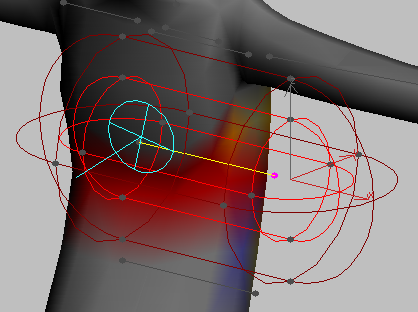
While you’ve been painting the front of the model, the back hasn’t been getting painted.
In the Perspective viewport, you can see two gizmos moving simultaneously, one on the front of the mesh and the other on the back. The Mirror option on the Paint Options dialog causes the paint strokes on one side the mesh to be duplicated on the other side.
Mirroring the paint tool to affect both the front and back of the model
Test the skin setup:
After adjusting envelopes and vertex weights for the left side, test the setup before you mirror it.
Some problems with deforming or “wandering” vertices
You might see some deforming as the foot moves, especially at the joint between the thigh and the hips. The steps that follow show ways to correct these problems. These steps show what to do if any part of the body mesh is deforming too much as it follows the bones, or is following a bone that it shouldn't.
Adjust vertex weights using the Weight Tool:
The Weight Tool is handy for quickly adjusting weights for several vertices. For example, take a look at the joint between the thigh and the hips. The area is crumpled, and the skin isn't stretching correctly with the leg. Fixing this problem with envelopes alone would be extremely difficult, if not impossible.
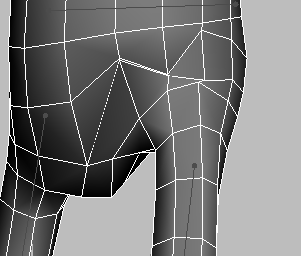
Problems with vertices around the joint area.
 Go back
to frame 0. From the main tool bar choose the Lasso Selection tool.
Go back
to frame 0. From the main tool bar choose the Lasso Selection tool. In the
Web Properties group, click Weight Tool to turn it on.
In the
Web Properties group, click Weight Tool to turn it on.The Weight Tool dialog appears.
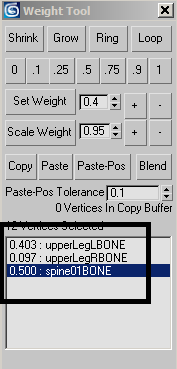
The Weight Tool provides some convenient ways to select vertices and adjust weights.
Two vertices selected around the thigh ring.
Vertices selected around the thigh.
Notice that the selected vertices are shown as 100% weighted (1.000) to the upperLegLBONE in the Weight Tool window.
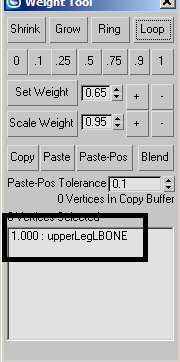
Notice how these vertices are currently assigned to the upperLegLBONE at full value (100%). Some of the strength applied to these vertices should be assigned to the lower spine envelope.

Problem with vertices above the thigh.
Vertices selected above the joint line.
Vertices selected on one side of the belly area.
Individual vertices need adjustments.
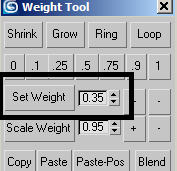
Using Set Weight to apply custom weight values
Appropriate deformation around the joint area.
At this point, the envelopes and vertex weights on the left side of the mesh are as they should be. The next and final step is to apply them to the right side of the mesh, as well.
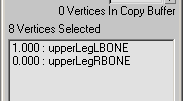
Mirror the vertex weights:
In 3ds Max, you can mirror the vertex weights from one side of the character to the other. This process mirrors all envelope settings as well as manual vertex settings.
The character's vertices turn red. In the Front and User or Perspective viewports, you can see the mirror plane down the center of the character.
Vertices in mirror mode, with mirror plane through the model's center

Mirror Threshold value increased
The Mirror Threshold value changes the distance from the mirror plane that Mirror mode will look for left and right vertices. Blue vertices indicate the left side if the mirror plane, while green vertices indicate the right.
 Click
Paste Blue To Green Bones.
Click
Paste Blue To Green Bones.This pastes the envelope lengths and sizes from the left side to the right.
 Click
Paste Blue To Green Verts.
Click
Paste Blue To Green Verts.This pastes vertex weights from the left side to the right.
The envelope and vertex weight settings on the right now match the settings on the left.
You might have to make some additional adjustments to vertex weights around areas that are affected by both sides of the body, such as the back of the hips.
Adjusting the Skin settings is as much an art as a science. Because a working skin setup is essential to the animation process, it's not uncommon for an animator to spend hours or days testing simple motions and adjusting the skin settings accordingly. Gaining skill with the Skin modifier takes practice, but the results are well worth it.
To see a working skin setup for this character, open the file tut_skinalien_finished.max.