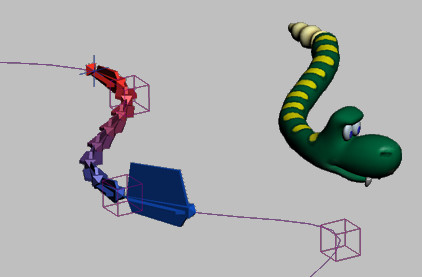
Spline IK is a type of IK control that uses a spline to control a bone structure. You can change the object's shape by transforming the spline vertices. This is useful for animating such objects as a snake or a ponytail.
You can apply Spline IK when you create bones, or add it to the bone structure later on.
All the files necessary for this tutorial are provided on the program disc in the \tutorials\character_animation\intro_to_rigging directory. Before starting the tutorials, copy the \tutorials folder from the disc to your local program installation.
Create a simple spline IK structure:
The Create panel opens with the Systems category active, and the Bones button highlights.
When you right-click to end bone creation, the Spline IK Solver dialog opens.
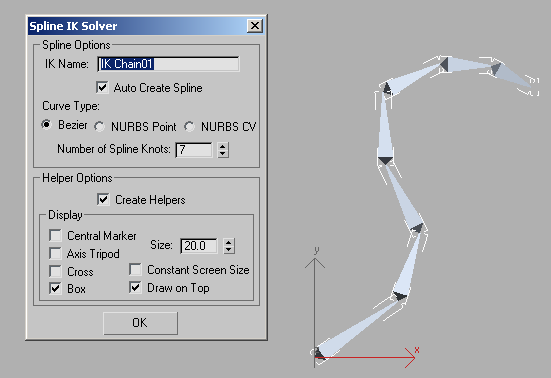
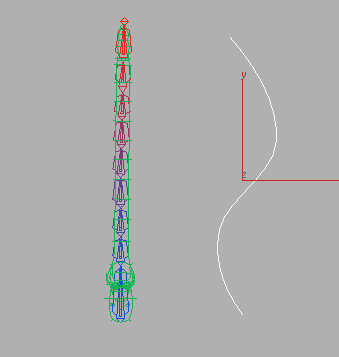
A spline is created in the shape of the bone structure. At each vertex on the spline is a box-shaped Point helper.
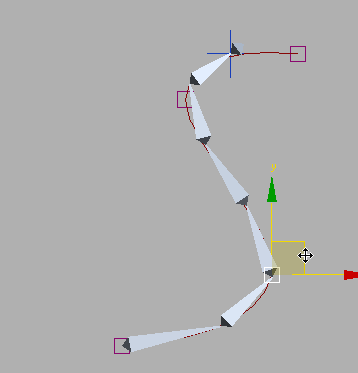
Moving a helper changes the shape of the spline, which in turn changes the shape of the bone structure.
 Turn
on Auto Key.
Turn
on Auto Key.The bone structure animates according to the helper’s movement.
Apply IK after bone creation:
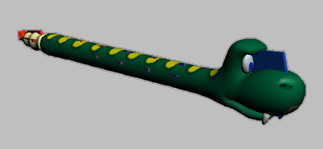
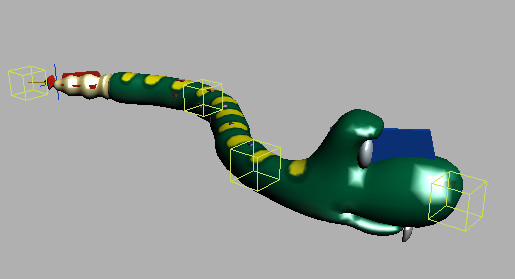
This scene contains a snake mesh with a bone structure. The Skin modifier has already been applied to the mesh. The mesh is frozen so you can easily select the bones.
Drawing in this manner ensures the line’s first vertex will correspond to the head of the snake. The location of the first vertex sets the end at which the first bone in the IK chain will be placed. In this case, the first bone in the IK chain is at the snake’s head.
A rubber band line extends between the mouse cursor and the selected head bone.
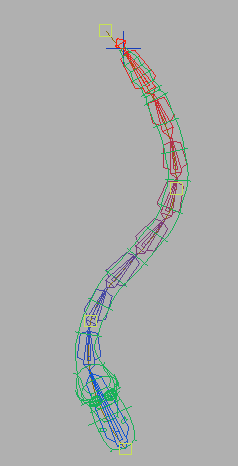
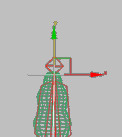
The snake jumps to the spline and assumes its shape. Also, behind the scenes, the Spline IK Control modifier is applied to the spline, with box-shaped Point helper objects placed at the spline vertices.
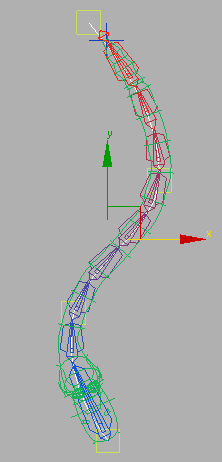
The helper objects might be a bit difficult to see at their default size in this particular context, so you can enlarge them in the Spline IK Control modifier.
 Go to
the Modify panel, where you'll see the Spline IK Control Parameters
rollout. Near the bottom, change the Helper Display > Helper
Size value to 40.0.
Go to
the Modify panel, where you'll see the Spline IK Control Parameters
rollout. Near the bottom, change the Helper Display > Helper
Size value to 40.0.The helpers are now bigger, and thus easier to see and manipulate.
Now you can move and animate the helper objects to change the shape of the snake.
Use Spline IK with a path constraint:
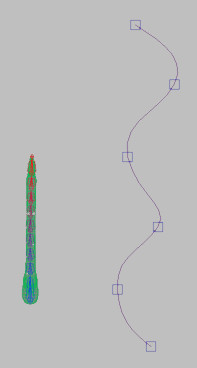
This file contains the snake and a long, curvy spline. The Spline IK Control modifier has already been applied to the spline.
A spline IK solver has been added to the bones, but is not associated with the spline.
 Go to
the Motion panel. On the Spline IK Solver rollout, click the button
under Pick Shape, and then click the spline.
Go to
the Motion panel. On the Spline IK Solver rollout, click the button
under Pick Shape, and then click the spline.Now that the spline is associated with the spline IK solver, you have two choices for the remainder of the setup:
In this lesson you'll use the Path constraint.
The snake jumps to the spline.
The snake is automatically animated moving along the path, but it slithers backward.

Turn
on Auto Key.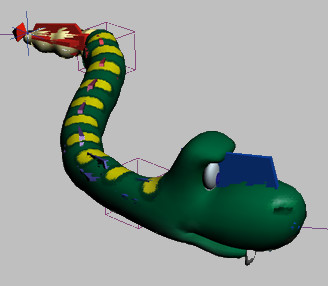
You can also animate the box helpers on the spline to further control the animation.


