


Autodesk 3ds Max Tutorials > Character Animation Tutorials > Character Animation without Biped > Introduction to Character Rigging >
Adding Control Objects
You can make it easier to manipulate the IK chains and bones in a character rig by adding objects, shapes, or helpers to the scene. You then connect the bones and IK chains to the control objects in such a way that you can use the control objects to perform all the necessary animation on the character.
It is possible to use a mix of shapes, helpers, and 3D objects as control objects, but many animators find it more useful to use only one type of object. This allows them to use a selection filter during the animation process. The selection filter limits selection of objects to one type of object only. During the animation phase, you can use a selection filter to make it easy to select the control objects, and prevent accidental selection of bones, IK chains, and the character mesh.
In this lesson you will use shapes as control objects, and will use linking and other tools to connect the bones and IK chains to them.
Prepare the scene:
This will make it easier to see the control shapes you are about to create.
Create the control shapes:
 On the
Create panel, click Shapes.
On the
Create panel, click Shapes.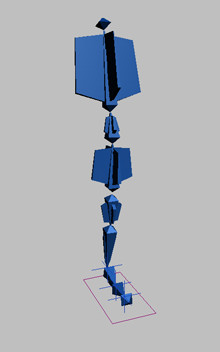
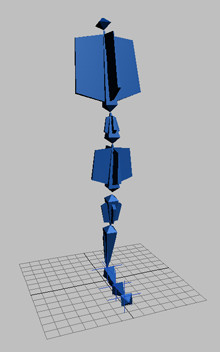
This is the shape you will use to control the foot. Because the character is standing on the construction plane, the shape is already positioned under the character's foot.
 Zoom
out the Top viewport to give yourself room to make the next shape.
Zoom
out the Top viewport to give yourself room to make the next shape.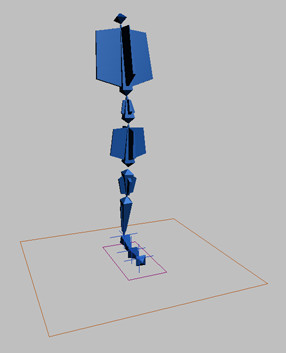
You will use this shape to control the entire body.
You will use this shape to control the upper part of the leg.
 Use
Align to align the circle with the lowest spine bone, BoneSpine01.
On the Align dialog, choose Pivot Point for both the Current Object
and Target Object, and align the circle's position on the X, Y and
Z axes.
Use
Align to align the circle with the lowest spine bone, BoneSpine01.
On the Align dialog, choose Pivot Point for both the Current Object
and Target Object, and align the circle's position on the X, Y and
Z axes.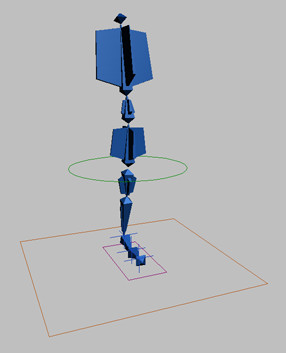
Use a custom shape:
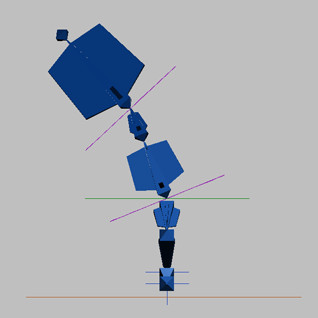
To control the spine and neck, you will use a custom shape created from a circle and two lines. This shape has been provided for you.
The merged shape is a circle enclosed two crossed lines. This shape was created by converting a circle to an Editable Spline, and drawing two lines across its center. The lines will distinguish this shape from the circle.
Align CtrlSpine with
the lowest spine bone, BoneSpine01. On the Align dialog,
choose Pivot Point for both the Current Object and Target Object,
and align the control shape's position on the X, Y and Z axes.
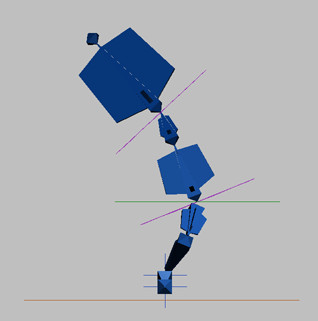
Align CtrlNeck with
the head bone, BoneHead. On the Align dialog,
choose Pivot Point for both the Current Object and Target Object, and
align the control shape's position on the X, Y, and Z axes.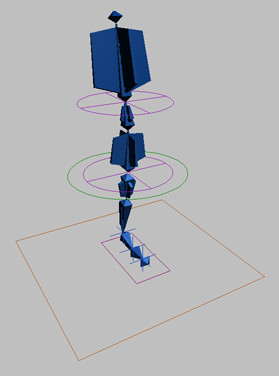
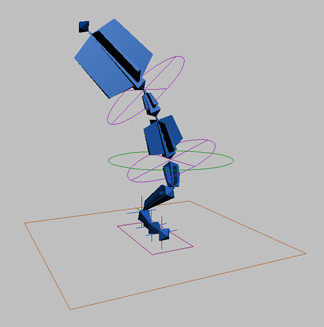
You can find a scene with the rig control shapes correctly placed and named in the file tut_introrig_shapes.max.
Link the bones and IK chains to the control objects:
Now you will link bones and IK chains to their appropriate control objects.
 Use
Select and Link to link IKToe, the IK chain at the tip
of the foot, to CtrlFoot. Link BoneHip to CtrlLeg,
the circle shape. Link BoneSpine01 to CtrlSpine,
the control shape at the bottom of the spine. Link BoneHead to CtrlNeck.
Use
Select and Link to link IKToe, the IK chain at the tip
of the foot, to CtrlFoot. Link BoneHip to CtrlLeg,
the circle shape. Link BoneSpine01 to CtrlSpine,
the control shape at the bottom of the spine. Link BoneHead to CtrlNeck.Until this point, BoneHead was linked to BoneSpine02, the topmost spine bone. Now that you have linked it to CtrlNeck, the head is no longer linked to the body.
Link CtrlNeck to BoneSpine02.Now the head is linked to the spine again via the control shape CtrlNeck.
The spine and leg were not linked when you created them. Now you will connect them together by linking the control objects.
Link CtrlSpine to CtrlLeg.Test the rig:
Now you will test the rig to see how well it works. To avoid moving the bones in their initial states, you will leave the pose intact on frame 0, and animate the bone on another frame.
There is already animation on the IK chain at the ball of the foot which makes the heel rise at frame 10. You don't need this animation to test the rig.
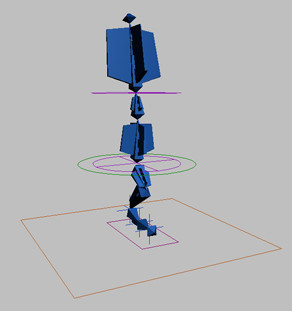
CtrlLeg moves and turns both the thigh and spine.
CtrlSpine controls just the upper body.
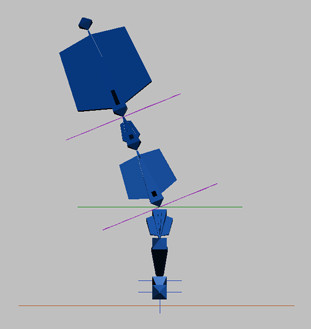
Now the character looks out of balance.
The rig makes the character very easy to animate.
Finish the rig:
The last necessary part of the rig is a control that allows you to move the entire character to another part of the scene. The object CtrlBody will accomplish this.
Link CtrlFoot to CtrlBody. Link CtrlLeg to CtrlBody.You can find a version of this scene in the file tut_introrig_controls.max.