


Autodesk 3ds Max Tutorials > Materials and Mapping Tutorials > Vertex Color and Interactive Shading > Painting Vertex Color >
Animating Vertex Paint Layer Opacity
In this lesson you will separate the lighting information from the individual objects onto independent layers. We'll show you how its done, then you will load a file that has the work completed.
You'll create the illusion of a flickering fluorescent tube by animating the opacity value of the vertex paint layer, and then keyframing the material self illumination color.
Set up the lesson:
Create separate radiosity layers:
 With
the garage walls still selected, hold down the Ctrl key, then on the Modify panel
select the two VertexPaint modifiers in the stack and delete them
using the Remove Modifier From Stack button below the modifier window.
With
the garage walls still selected, hold down the Ctrl key, then on the Modify panel
select the two VertexPaint modifiers in the stack and delete them
using the Remove Modifier From Stack button below the modifier window.You can use the Layer Manager to quickly hide and unhide parts of your scene. You'll hide all the lights but one, then create a radiosity pass for that and bake it into a vertex paint layer.
 On the
toolbar, click the Layer Manager button.
On the
toolbar, click the Layer Manager button.
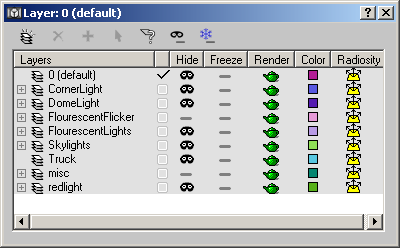
Layer Manager
Now the only objects visible in the scene are the garage elements and the one fluorescent tube.
The radiosity solution is calculated for the light coming from the single fluorescent tube.
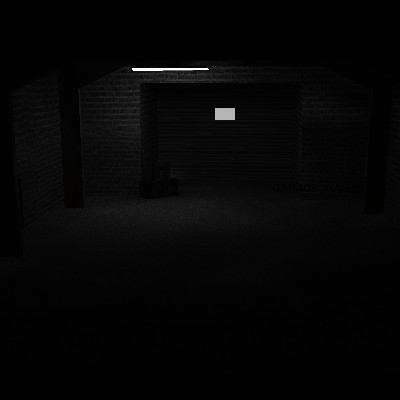
Radiosity from single fluorescent fixture
Of course, the next step is to create the vertex color layer.
The lighting coming from the one fluorescent tube is applied to this vertex color layer.
In the Modifier stack, highlight the Vertex Paint layer and right-click, then rename it VertexPaint Flicker.
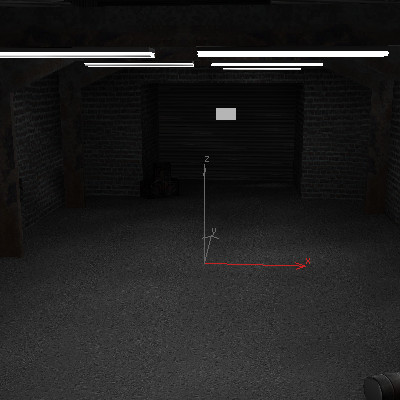
Radiosity for the rest of the fluorescent tubes.
You could do the same for the skylights.
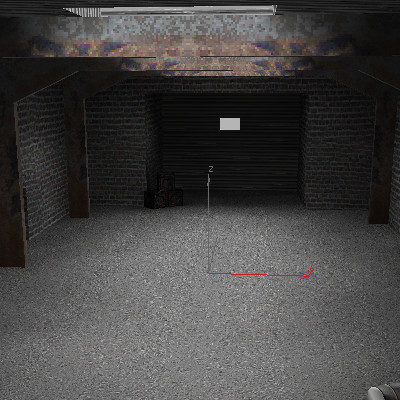
Radiosity for the skylights
We've provided a finished file that has all the work done for you.
Animate the layer opacity:
Now you can create the illusion of a flickering fluorescent tube. The technique you use is simple. You select the layer with the lighting information, then in Auto Key mode, keyframe the opacity of the layer. You'll then complete the illusion by keyframing the self-illumination color of the material.
There are six vertex paint layers in this file.
 Turn
on the Auto Key button.
Turn
on the Auto Key button.This sets a key at frame 10, and frame 0.
The Base material parameters appear.
The color swatch is outlined in red, to show it is animated.
Move to frame 14, and keyframe the color as Black again.
 Turn
off Auto Key and close the Material Editor.
Turn
off Auto Key and close the Material Editor.If you play the animation now, its a little slow. You can improve the performance by collapsing the layers.
Preserve the flickering layer:
You'll use the Preserve Layer command to keep the animated layer while condensing the remaining ones.
 On the
floating vertex paintbox, click Condense To Single Layer.
On the
floating vertex paintbox, click Condense To Single Layer.The five other layers are collapsed into a single layer, while the flicker layer is preserved.
In this tutorial you have explored the use of the VertexPaint modifier. You have learned to bake radiosity into vertex color using the Assign Vertex Color Utility, and how to add paint layers in the modify panel. You have learned to animate the opacity of the layers to create a flickering lighting effect that can be exported to a game engine.