Autodesk 3ds Max Tutorials > Character Animation Tutorials > Character Animation without Biped > Creating and Editing Character Bones >
Building the Neck, Head, and Hair Bones
In this lesson, you'll finish the bone structure by creating the neck, head, and hair bones.
Prepare the scene:
 If necessary,
click Min/Max Toggle to display four viewports.
If necessary,
click Min/Max Toggle to display four viewports.Create the final bones:

Look at the bone structure:
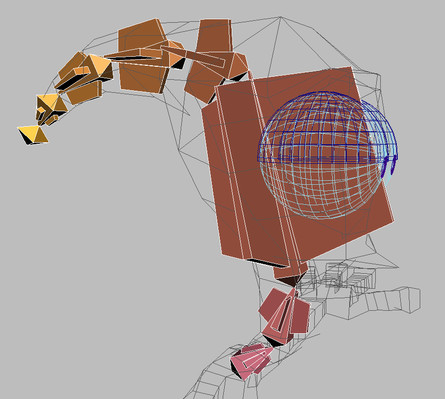
At this point, all of the basic bone structure for the rig is done. You can now unhide all objects to show all the bones you created.
You can also open tut_char_bone_complete.max to examine the result of this lesson.
In this tutorial, you learned to create a bone structure for a fully articulated character.
If you have never rigged a character before, you can do the rigging lessons in the Introduction to Character Rigging tutorial before rigging this character.
To learn to skin this character, see the lesson Applying Skin to the Alien .