
Import Media into Clip Bin
Editor adds imported media files into the Clip Bin.
You can import the following file formats into a Camtasia Studio project:
- Video files (TREC, CAMREC (Camtasia Studio 8.3 and earlier), AVI, MP4, MPG, MPEG, WMV, MOV, SWF)
Camtasia Studio does not support multiple tracks in a MOV. Camtasia Studio imports one video and one audio track from a MOV file.
Only SWF files created from Jing or a previous version of Camtasia Studio can be imported.
- Image files (BMP, GIF, JPG, PNG)
- Audio files (WAV, MP3, WMA)
- Zipped project files
Import Media into the Clip Bin
- In Editor, select the Clip Bin tab.
- Select Import media
 .
. - Browse and select the file(s) to import. Hold <CTRL> to select multiple files.
- Click Open. The media appears in the Clip Bin.
To add a clip to the video, drag the clip from the Clip Bin onto the timeline or right-click on a clip and select Add to Timeline.
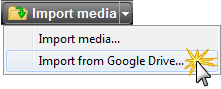
Import Media into the Clip Bin from Google Drive
- In Editor, select the Clip Bin tab.
- SelectImport media.
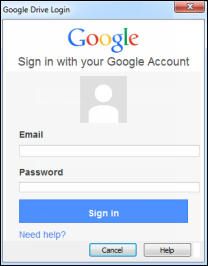
- You may be prompted to sign in to Google Drive. Enter your email address and password and click Sign In.
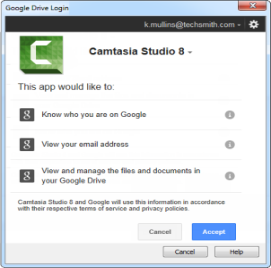
- You may be prompted to accept the Google Permissions to share information. Click Accept.
- Google Drive opens. Browse and select the file(s) to import. Click Import.
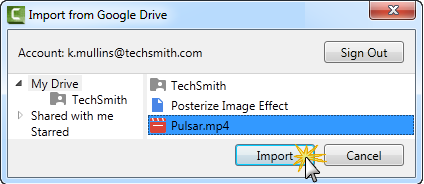
The media file(s) is sent to the Camtasia Studio Clip Bin. Depending on the size of the file and the network connection, it may take time for the file(s) to appear.
Import Media into the Clip Bin from a Mobile Device via TechSmith Fuse
TechSmith Fuse is a mobile app that allows you to send images or videos from your mobile device directly to Camtasia, Snagit, or TechSmith Relay.
To send media files from your mobile device to the Camtasia Studio Clip Bin you must:
- Install Fuse from Google Play, Windows Store, or the App Store onto your mobile device.
- Connect TechSmith Fuse to Camtasia Studio on your computer via the same shared network.
To Import Media From TechSmith Fuse
- In Editor, select the Clip Bin tab.
-
Open TechSmith Fuse on the mobile device and select the image(s) or video(s) to send.
- Tap Connect to Camtasia Studio.The media file(s) is sent to the Camtasia Studio Clip Bin. Depending on the size of the file and the network connection, it may take time for the file(s) to appear.